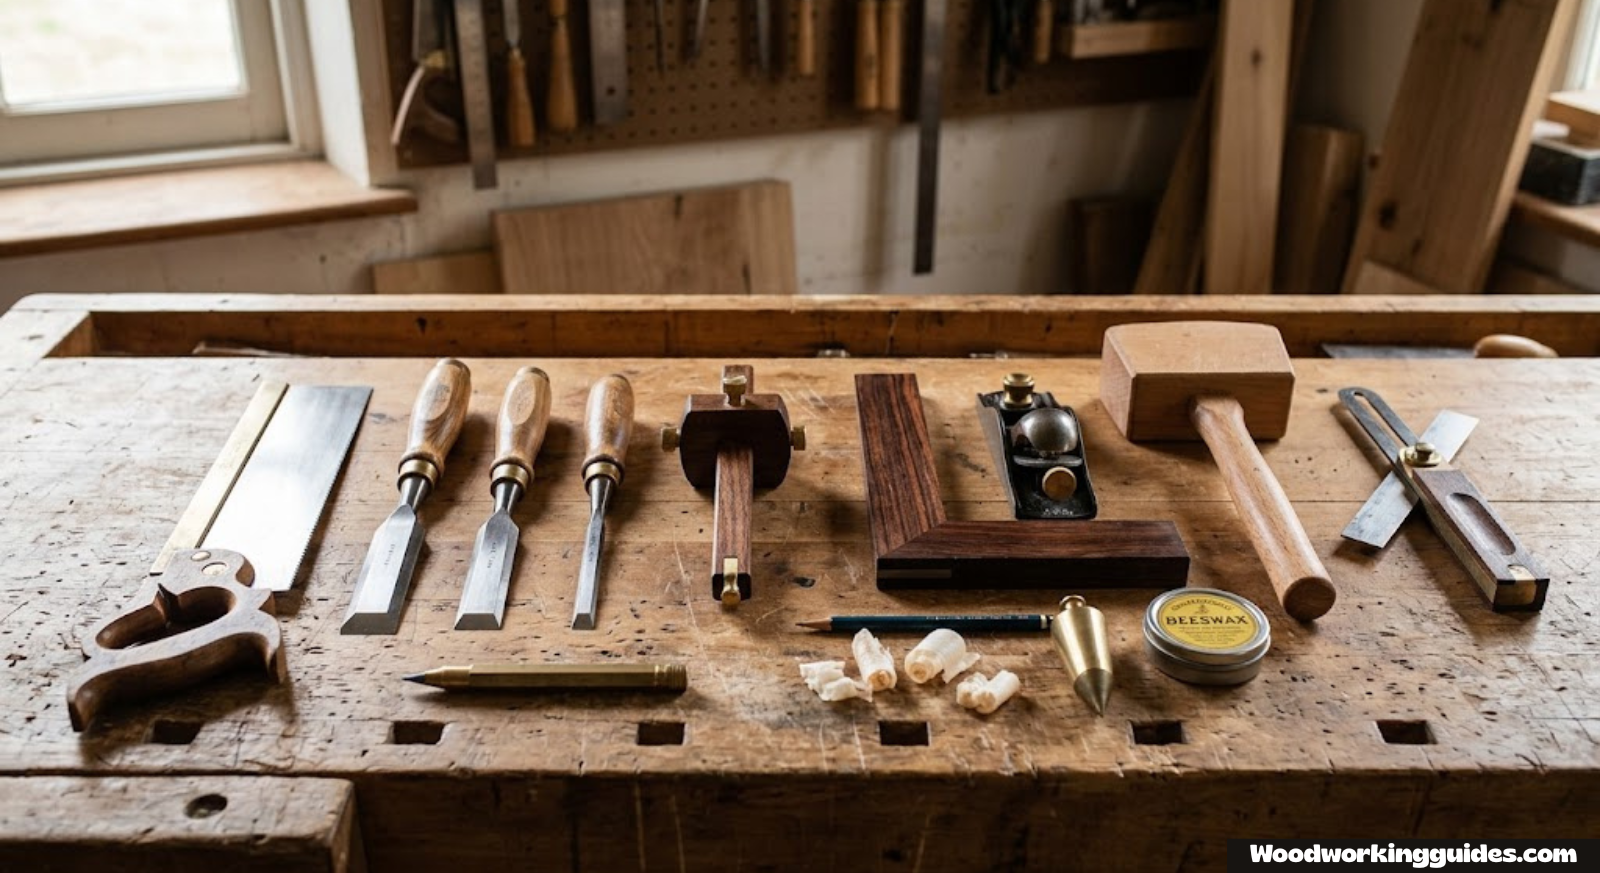
Wood Joinery Tools Explained: The Complete Guide to Cutting, Shaping, and Assembling Strong Joints
From chisels and marking gauges to routers and biscuit joiners — here’s exactly which tools you need, what each one does, and how to choose the right ones for the joints you actually want to build.
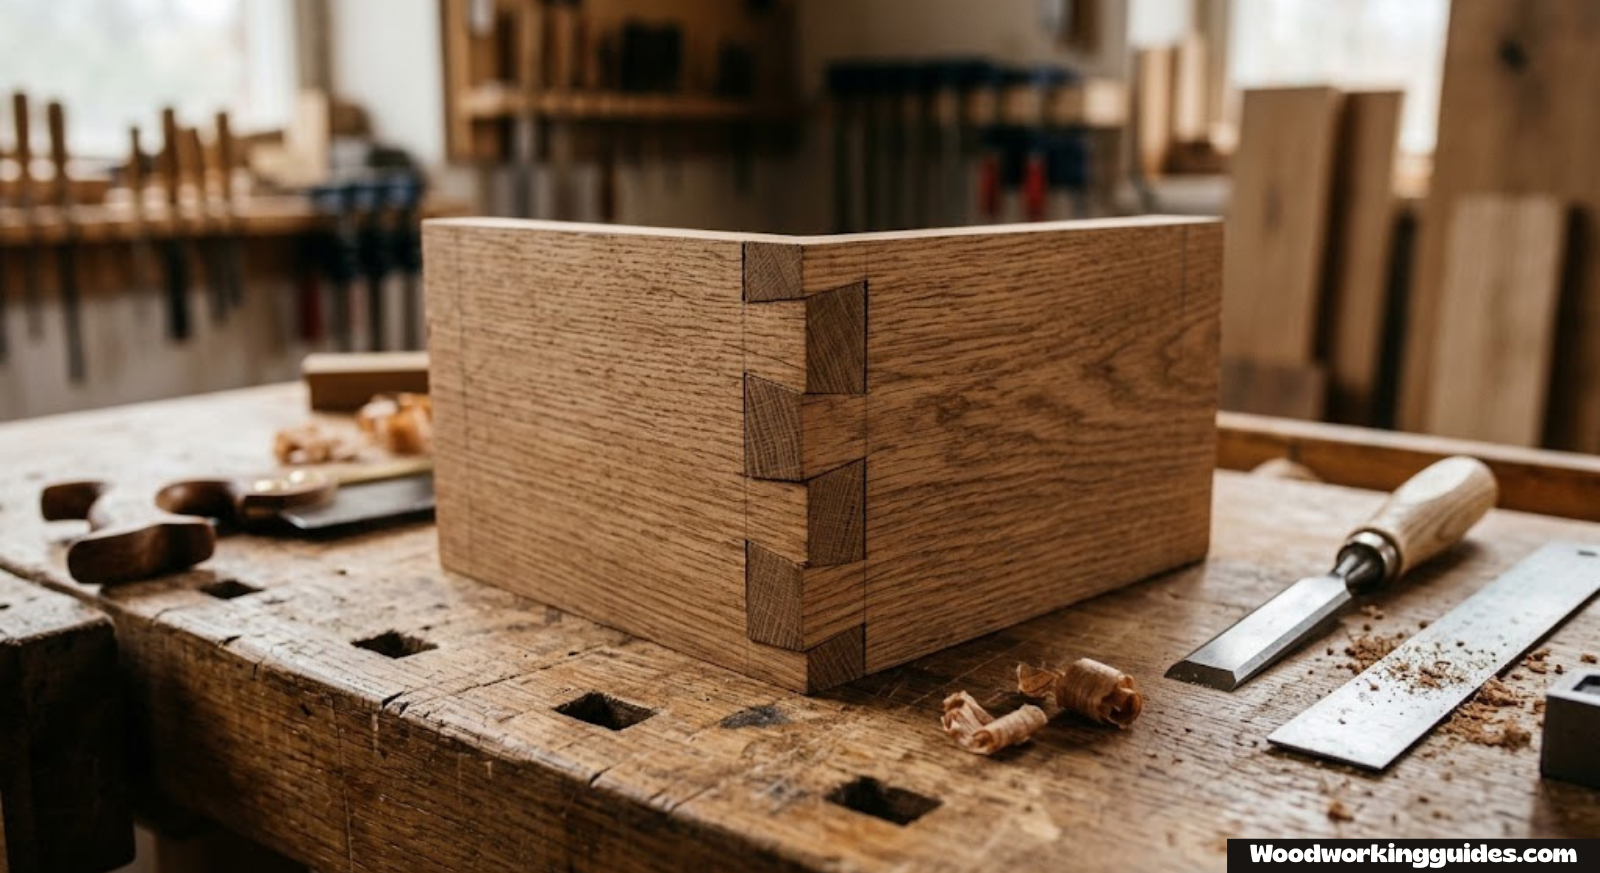
Every strong wood joint starts long before glue ever touches wood — it starts with the tool in your hand. Whether you’re cutting a dovetail by hand or running a rail through a router table, the tool you choose determines the fit, the strength, and honestly, how much you’ll enjoy the process. This guide breaks down every major category of wood joinery tools, what each one is actually for, and how to decide what belongs in your own shop.
If you’re just getting your shop together, it’s worth pairing this guide with a broader look at the best woodworking tools overall, since joinery tools are only one piece of a functional shop.
1. Chisels: The Backbone of Hand-Cut Joinery
If you own exactly one joinery tool, it’s probably a chisel. Chisels pare, chop, and clean up almost every joint a woodworker cuts by hand — dovetails, mortises, half-laps, you name it. A sharp bevel-edge chisel can get into the tight corners a saw can’t reach, and it’s the tool that turns a rough-cut joint into a tight, gap-free fit.
Types of Chisels Used in Joinery
- Bevel-edge bench chisels — the all-purpose workhorse for paring and trimming dovetails and tenons.
- Mortise chisels — thick, stiff blades built to be levered and chopped without flexing inside a mortise.
- Paring chisels — longer and thinner, meant for slicing cuts by hand pressure alone, not striking.
- Dovetail chisels — narrow, angled sides that let you get into acute dovetail corners without bruising the wood.
New to buying edge tools? Pair a chisel purchase with a good sharpening routine — a dull chisel crushes wood fibers instead of slicing them, which is the single most common reason beginner joints come out sloppy. For a broader starter kit, our guide to a best chisel set for beginners walks through exactly what to buy first.
Pros
- Precise, quiet, no power needed
- Works in tight corners power tools can’t reach
- Inexpensive to start
Cons
- Requires regular sharpening
- Steeper learning curve for clean results
- Slower than machine-cut joinery

Check Price on Amazon
2. Mallets & Mauls: Powering the Chisel
A chisel without a mallet is only half a tool for chopping work. Mallets deliver controlled force so you can chop waste out of a mortise or knock a joint together without denting the wood the way a steel hammer would.
Common Mallet Types
- Wooden joiner’s mallet — traditional, heavy head, ideal for striking chisel handles.
- Rubber or dead-blow mallet — used for tapping joints together during dry-fit and glue-up without marring the surface.
- Carver’s mallet (round head) — allows striking from any rotational angle, useful for detailed paring work.
A wooden mallet with a roughly 16–20 oz head suits most chisel work. If you’re building a full mortise-and-tenon frame, a heavier mallet reduces the number of strikes needed and keeps your wrist from fatiguing.

Check Price on Amazon
3. Marking & Measuring Tools: Where Accurate Joinery Actually Begins
Every joinery mistake traces back to a marking error more often than a cutting one. If your layout lines are off by even a hair, no amount of careful sawing will save the joint. This category doesn’t get the spotlight the way a router does, but it’s arguably the most important one on this list.
| Tool | What It Does | Best For |
|---|---|---|
| Marking gauge | Scores a precise line parallel to an edge | Tenon shoulders, mortise widths |
| Mortise gauge | Scores two parallel lines simultaneously | Marking both cheeks of a mortise/tenon at once |
| Try square | Checks and marks 90° lines | Squaring stock, shoulder lines |
| Combination square | Marks 90° and 45° lines, checks flatness | General layout and setup |
| Marking knife | Severs wood fibers cleanly for a crisp line | Dovetail and tenon baselines |
| Bevel gauge | Transfers and holds any angle | Angled joints, dovetail slopes |
A marking knife paired with a small square is genuinely the highest-value combo in this whole list — cheap, small, and the difference between a joint that needs filing and one that slides together first try.

Check Price on Amazon
4. Hand Saws for Joinery
Power tools are fast, but for many classic joints — dovetails especially — a good hand saw is still the most accurate way to remove waste right up to the line.
Joinery Saw Types
- Dovetail saw — fine-toothed, thin blade, cuts on the pull or push stroke depending on style, built for precision in small joints.
- Tenon saw (backsaw) — a stiffened spine keeps the blade straight for cutting tenon cheeks and shoulders.
- Coping saw — removes waste between pins in dovetails, or cuts curved profiles.
- Japanese pull saws (ryoba/dozuki) — thin kerf, cut on the pull stroke for excellent control and less tear-out.
For anyone deciding between building a hand-tool joinery kit versus leaning on machines, it helps to read through hand tools vs power tools for woodworking before you commit to a direction.

Check Price on Amazon
5. Wood Routers & Joinery Bits
A router is probably the single most versatile power tool for joinery. With the right bit and a jig or fence, one router can cut dadoes, rabbets, box joints, mortises, and even dovetails at production speed.
Router-Cut Joints
- Rabbet joints — a straight or rabbeting bit removes a step along an edge, common in cabinet backs and drawer construction.
- Dado joints — a straight bit run against a fence or jig cuts a housing channel for shelves.
- Box joints — a box-joint jig paired with a straight bit produces interlocking finger joints.
- Router-cut dovetails — a dovetail jig and matching bit cut both pins and tails in a single templated pass.
- Mortises — a plunge router with an edge guide or template can hog out clean, consistent mortises far faster than chisel work alone.
If you’re shopping for your first router, our top wood router picks breaks down fixed-base versus plunge-base options for exactly this kind of joinery work.
| Router Style | Best Joinery Use | Notes |
|---|---|---|
| Fixed-base | Edge rabbets, dado work with fence | Easier to control depth consistency |
| Plunge-base | Mortises, stopped dadoes | Can start a cut mid-board |
| Router table (fixed mounted) | Box joints, repeatable production cuts | Best for volume and precision |

Check Price on Amazon
6. Doweling Jigs: Fast, Strong Alignment
Dowel joinery has quietly become one of the fastest ways to build strong, invisible joints — especially for furniture-grade frame and panel work. A doweling jig guides a drill bit to bore perfectly aligned holes in two mating boards so glued dowels lock them together.
Types of Doweling Jigs
- Self-centering jigs — automatically center the bore on the stock thickness, ideal for edge-to-edge panel joints.
- Multi-hole doweling jigs — bore several parallel holes at once for wider, stronger joints like table aprons.
- Dowel joiners (standalone machines) — combine boring and depth-stop functions in one tool, closer to a biscuit joiner in workflow.
Whatever jig you choose, a reliable cordless drill for woodworking makes a real difference here — consistent torque and a clutch setting help you avoid blowing out the hole depth.

Check Price on Amazon
7. Biscuit Joiners: Speed for Panel and Face-Frame Work
A biscuit joiner cuts matching crescent-shaped slots in two boards, into which a compressed wood “biscuit” is glued. The biscuit swells slightly with moisture from the glue, locking the joint and — just as importantly — keeping both boards aligned during clamping.
Pros
- Very fast for panel glue-ups
- Excellent alignment during clamping
- Forgiving of small layout errors
Cons
- Not as strong as mortise-and-tenon for structural joints
- Single-purpose tool — limited use outside panel joinery
Biscuit joiners shine most on edge-glued tabletops and cabinet face frames where alignment matters more than raw joint strength.

Check Price on Amazon
8. Pocket-Hole Jigs: The Fastest Joint in the Shop
Pocket-hole joinery drills an angled hole through one board into a mating piece, then draws them together with a self-tapping screw. It’s the fastest joinery method here by a wide margin, which makes it a favorite for face frames, shop furniture, and anything that doesn’t need to survive as a family heirloom.
Combine a pocket-hole jig with your cordless drill and a stepped drill bit, and you can join an entire cabinet carcass in the time it takes to hand-cut a single dovetail.

Check Price on Amazon
9. Table Saws for Joinery Work
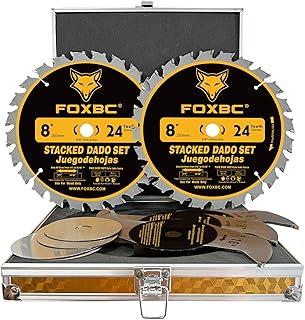
A table saw fitted with a dado stack or tenoning jig turns into one of the most efficient joinery machines in the shop. It can cut rabbets, dadoes, box joints, and tenon cheeks with a level of repeatability that’s hard to match by hand.
Table Saw Joinery Setups
- Dado stack — stacked blades and chippers cut a flat-bottomed channel in one pass, ideal for dadoes and rabbets.
- Tenoning jig — holds stock vertically and safely guides it past the blade to cut tenon cheeks.
- Box-joint jig — an indexed jig mounted to the miter slot produces evenly spaced finger joints.
If you don’t already have a saw suited to this kind of work, start with how to choose a table saw, then compare specific models in our best table saw for woodworking roundup.
Check Price on Amazon
10. Hand Planes: Fine-Tuning the Fit
No joint comes off the saw or router perfectly fit every time, and that’s where hand planes earn their keep. A block plane or shoulder plane can shave a joint down by paper-thin amounts until it seats exactly right — something almost no power tool can do with the same control.
- Shoulder plane — trims tenon shoulders and cheeks with a blade that runs the full width of the sole, right into corners.
- Block plane — quick touch-up work, chamfering edges, easing joint faces before glue-up.
- Router plane — levels the bottom of hand-cut mortises and dadoes to a consistent depth.

Check Price on Amazon
11. Clamps & Assembly Tools
Cutting the joint is only half the job — clamps are what hold everything true and tight while the glue cures. Undersized or too-few clamps is one of the most common reasons a well-cut joint still ends up with a visible gap.
| Clamp Type | Best Use |
|---|---|
| Bar/pipe clamps | Panel glue-ups, case assembly |
| Parallel-jaw clamps | Cabinet and box glue-ups needing even pressure |
| F-style clamps | General-purpose clamping, jig work |
| Corner/band clamps | Mitered frames and boxes |
| Spring clamps | Light-duty holding, quick tack-ups |
A well-organized bench setup makes clamping far easier — if your shop layout still needs work, see setting up a beginner woodshop and pair it with a sturdy woodworking workbench that can take clamping pressure without racking.

Check Price on Amazon
12. Hand Tools vs Power Tools for Joinery: Which Should You Build Around?
This is the question almost every woodworker eventually asks, and the honest answer is that most shops end up using both — hand tools for precision and control, power tools for speed and repeatability.
| Factor | Hand Tools | Power Tools |
|---|---|---|
| Speed | Slower, especially at first | Much faster once set up |
| Precision | High, but skill-dependent | High, and repeatable across many pieces |
| Noise/Dust | Quiet, minimal dust | Louder, more dust extraction needed |
| Learning curve | Steeper for clean results | Easier to get consistent results early |
| Cost to start | Lower | Higher, but scales with production |
For a deeper breakdown of this decision, our full comparison on hand tools vs power tools for woodworking is worth reading before you build out a shop around one approach or the other. Many woodworkers also round things out with a random orbital sander and miter saw for the surrounding prep and crosscut work that joinery projects also demand.
Rounding Out the Shop: Aprons and Workbenches
Joinery work means a lot of time standing at the bench with sharp tools and glue nearby, so a good woodworking apron earns its keep fast — whether that’s a leather apron, a waxed canvas apron, or specific reviewed options like the Rockler apron and Briteree apron.
And since chopping mortises and clamping panels both put real stress on your bench, it pays to get the surface right — see our guides on workbench plans, portable workbenches, the best wood for a bench, and plywood for a workbench top if you’re building your own.
Frequently Asked Questions
What’s the single most important joinery tool for a beginner?
A sharp set of bevel-edge chisels paired with a good marking gauge and square. Nearly every joint — hand-cut or machine-assisted — needs accurate layout and clean paring at some point.
Do I need a router to cut good joints?
No. Plenty of strong joinery has been cut with hand tools for centuries. A router simply speeds up repetitive cuts like dadoes, rabbets, and box joints once you’re producing multiple pieces.
What’s the strongest type of wood joint?
Mortise-and-tenon and dovetail joints are generally considered the strongest traditional joints because of their large glue surface area and mechanical interlock.
Are pocket-hole joints reliable for furniture?
They’re reliable for cabinets, face frames, and shop furniture, but most woodworkers reserve mortise-and-tenon or dovetail joinery for pieces meant to last generations.
Can biscuit joiners replace dowels or mortise-and-tenon?
Not for structural joints. Biscuits are excellent for alignment during panel glue-ups but aren’t as strong as dowels or true mortise-and-tenon construction for load-bearing joints.
What size chisel set should I start with?
A 4-to-6 piece set covering roughly 1/4″, 3/8″, 1/2″, 3/4″, and 1″ widths handles the large majority of joinery tasks a beginner will encounter.
How do I keep my chisels sharp for joinery work?
A consistent honing routine using either a sharpening stone, honing guide, or a simple diamond plate will keep an edge crisp. Re-hone as soon as you feel the chisel dragging rather than slicing.
Is a table saw dado stack worth buying?
Yes, if you regularly cut dadoes or rabbets — it removes the need for multiple passes and produces a flat-bottomed cut that’s hard to match with a single-blade setup.
What’s the difference between a marking gauge and a mortise gauge?
A marking gauge scores a single line parallel to an edge. A mortise gauge has two adjustable pins to score both sides of a mortise or tenon at once, saving a resetting step.
Do I need both a plunge router and a fixed-base router?
Not necessarily. A plunge router alone can handle both edge work and mortising, though many woodworkers eventually add a dedicated router table for repeatable joint cuts.
Building Your Joinery Toolkit, One Piece at a Time
You don’t need every tool on this list to start cutting strong, good-looking joints. Begin with a sharp chisel set, a reliable marking gauge, and a decent saw — then add routers, jigs, and machines as the projects you’re building start asking for them. The right tool doesn’t replace practice, but it does make good technique a lot easier to repeat.
Shop Wood Joinery Tools on Amazon