The Ultimate Woodworking Workbench Plans PDF Guide
Master your workshop with our comprehensive blueprints, step-by-step instructions, and material selection guides for building the perfect workbench.
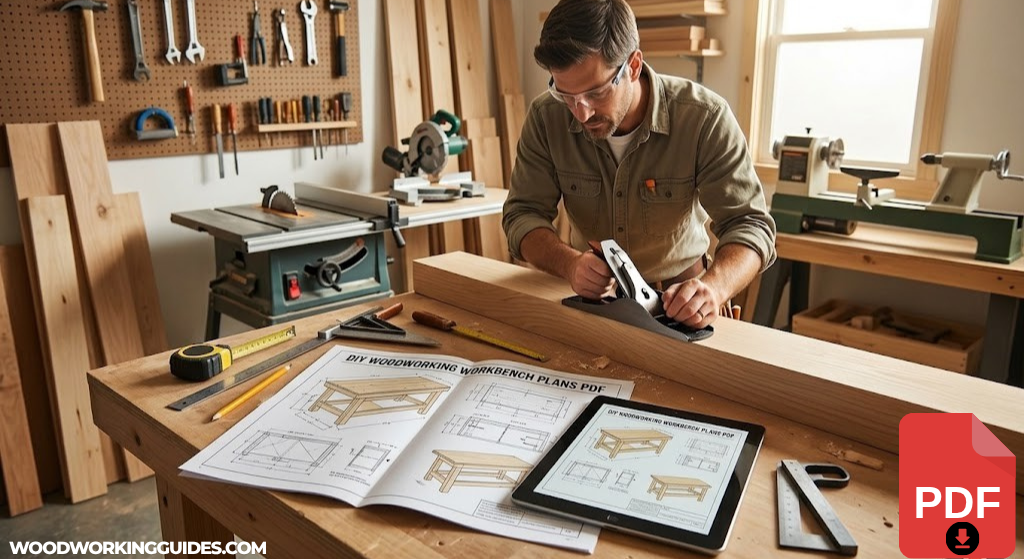
1. Why Every Woodworker Needs a Proper Blueprint
Building a workbench without a precise set of plans is like trying to navigate a new city without a map. A workbench is the heart of any workshop, serving as the foundational surface for clamping, measuring, cutting, and assembling. Understanding the core mechanics of a best woodworking workbench is critical before you even purchase your first piece of lumber.
Having a high-quality woodworking workbench plans PDF eliminates the guesswork. It provides exact cut lists, precise joinery dimensions, and a logical order of operations. A well-designed bench must resist racking (the side-to-side wobble), withstand heavy pounding during chiseling, and provide versatile work-holding solutions.
When you rely on professional plans, you avoid costly material mistakes. Hardwood is expensive, and making an incorrect cut on an 8/4 piece of maple because you were “eyeballing” the dimensions can set your budget back significantly. Standardized plans ensure structural integrity, focusing on heavy mortise and tenon joints or robust laminations that stand the test of time.

Essential Layout Tool
Accurate plans require accurate layouts. Upgrade your measuring game.
Check Price on Amazon2. Evaluating Your Space: Standard vs. Compact Designs
Before downloading any woodworking workbench plans PDF, you must evaluate the physical constraints of your workshop. A massive Roubo-style bench is a dream for many, but placing an 8-foot bench in a one-car garage will severely limit your ability to maneuver large sheets of plywood or long boards.
Standard workbenches typically range from 6 to 8 feet in length and 24 to 30 inches in depth. These dimensions offer maximum stability and mass. The mass is crucial; a heavy bench absorbs the kinetic energy of hand-tool work. If your shop can accommodate it, a standard bench is always the preferred route for serious hand-tool enthusiasts.
Conversely, if you are working in a basement, a spare room, or a shared garage, a compact or mobile design is necessary. A best portable woodworking workbench offers clever work-holding in a smaller footprint (usually 4 to 5 feet long). These plans often incorporate heavy-duty retractable casters, allowing the bench to be pushed against a wall when not in use.
| Feature | Standard Workbench | Compact / Portable Workbench |
|---|---|---|
| Average Length | 72″ – 96″ | 48″ – 60″ |
| Weight | 250 – 400+ lbs | 100 – 180 lbs |
| Best For | Dedicated shops, heavy hand-planing | Garages, small spaces, power tools |
| Mobility | Stationary (usually) | Mobile via retractable casters |

Heavy-Duty Retractable Casters
Make any compact bench mobile without sacrificing stability when working.
Check Price on Amazon3. Decoding the Standard Workbench Plans
For those with dedicated shop space, our flagship blueprints provide everything you need to build a generational piece of shop furniture. This design draws inspiration from traditional European cabinetmaker benches, featuring a thick, laminated top and a massive trestle base.
📥 Get the Blueprint: Download the Standard Workbench Plans PDF
When you review the standard plans, you will notice a strong emphasis on the lamination process for the top. By face-gluing multiple boards (typically 2x4s or 8/4 hardwood ripped into strips), you create a top that is 3 to 4 inches thick. This thickness is non-negotiable if you plan to use holdfasts, which require sufficient depth to wedge securely into the dog holes.
The standard plans also detail the installation of both a front vise (often a leg vise or quick-release cast iron vise) and a tail vise. The interplay between the tail vise and a row of bench dogs allows you to pinch boards flat against the top, which is the safest and most efficient way to plane the face of a board.

Quick-Release Front Vise
A must-have for the standard workbench build. Durable cast iron construction.
Check Price on Amazon4. The Compact Workbench: Perfect for Small Spaces
Not every woodworker has the luxury of a large outbuilding. If you operate out of a highly constrained space, our compact plans are specifically engineered to maximize utility per square inch. Despite the smaller footprint, these benches do not compromise on work-holding capability.
📥 Get the Blueprint: Download the Compact Workbench Plans PDF
The compact plans utilize a slightly thinner top—often constructed from doubled-up 3/4-inch plywood or MDF bordered by hardwood. This reduces the overall weight, making the bench easier to move on casters. To compensate for the lack of mass, these plans often incorporate a lower shelf designed to hold heavy tools, sandbags, or machinery to anchor the bench during heavy use.
Instead of a complex tail vise, the compact plans rely heavily on surface clamping utilizing T-tracks or an array of 20mm dog holes compatible with modern track-saw clamps. This hybrid approach caters beautifully to power-tool woodworkers who need rapid, versatile clamping solutions rather than traditional hand-tool pinching.

Universal T-Track Kit
Perfect for modifying a compact workbench top for unlimited clamping options.
Check Price on Amazon5. Choosing the Right Lumber for Your Build
A common misconception is that a workbench must be built from the most expensive, exotic hardwood available. In reality, the best wood for a woodworking bench is typically whatever is dense, affordable, and locally available in your region. The goal is mass and durability, not necessarily fine furniture aesthetics.
Southern Yellow Pine (SYP) or Douglas Fir are excellent, cost-effective choices for the workbench top and base. These softwoods are surprisingly dense, heavy, and easy to work with. Over time, a pine bench will accumulate dents and dings, but a workbench is a tool, not a museum piece. Scars add character and show a history of craftsmanship.
If budget allows and you desire a harder surface, Hard Maple, Ash, or White Oak are traditional choices. Hard Maple is the undisputed king of workbench tops. It is incredibly heavy, has tight grain that resists splintering, and provides a pale surface that bounces light back into the shop, making it easier to see pencil marks.
| Wood Species | Janka Hardness | Cost Level | Best Use Case |
|---|---|---|---|
| Southern Yellow Pine | 690 lbf | Low | Budget builds, heavy bases |
| Douglas Fir | 660 lbf | Low | Construction lumber benches |
| Hard Maple | 1,450 lbf | High | Premium tops, high durability |
| White Ash | 1,320 lbf | Medium | Great maple alternative |

Digital Wood Moisture Meter
Ensure your lumber is properly dried before laminating your workbench top.
Check Price on Amazon6. Plywood and MDF Alternatives for the Top Surface
Laminating dozens of hardwood strips is incredibly time-consuming and requires a heavy-duty planer to flatten. If you want a perfectly flat, stable surface in a fraction of the time, engineered sheet goods are a fantastic alternative. Understanding the best plywood for a workbench top will dictate the longevity of your build.
Baltic Birch plywood is the premier choice for sheet-good workbench tops. Unlike standard construction plywood, Baltic Birch features more plies (layers), virtually zero voids in the inner core, and immense structural rigidity. Gluing two or three layers of 3/4-inch Baltic Birch creates a top that is dead-flat and incredibly resistant to seasonal wood movement.
MDF (Medium Density Fiberboard) is another popular choice, particularly as a sacrificial top layer. By building a robust torsion box or plywood core and laying a 1/4-inch sheet of tempered hardboard (Masonite) or MDF on top, you create a surface that can be easily unscrewed and replaced when it gets covered in glue, paint, or saw kerfs over the years. This method is heavily featured in modern, power-tool-centric assembly table plans.

Premium Wood Glue (1 Gallon)
Laminating a plywood or hardwood top requires a lot of glue. Buy in bulk to save.
Check Price on Amazon7. Essential Tools and Safety Gear for the Build
Building a workbench is a rite of passage, but moving around heavy timber poses distinct safety risks. Proper protective gear is essential. A best woodworking apron not only protects your clothing from glue squeeze-out and sawdust but also keeps essential measuring tools, pencils, and layout squares immediately accessible, preventing you from constantly walking around the shop.
Tool requirements depend heavily on the style of the bench. If you are milling your own lumber for a laminated hardwood top, a surface planer and a jointer are highly recommended, though a hand plane (like a No. 5 or No. 7) can achieve the same result with significant physical effort.
For cutting large mortise and tenon joints in the base, a robust router with an edge guide, a set of sharp bench chisels, and a sturdy mallet are required. Always ensure you have adequate dust collection running, especially when routing MDF or planing large quantities of wood, as fine particulate dust poses a severe long-term respiratory hazard.

Heavy-Duty Waxed Canvas Apron
Protect yourself and keep your layout tools close at hand during the heavy build process.
Check Price on Amazon8. Understanding Joinery in Workbench Construction
A workbench takes more abuse than any other piece of furniture. It is subjected to intense lateral forces when hand planing and heavy vertical impacts during mortising. Therefore, the joinery connecting the legs to the stretchers and the top must be practically indestructible.
The **Mortise and Tenon** joint is the undisputed champion of workbench construction. When cutting the stretchers (the horizontal pieces that connect the legs), leaving a long tenon that seats deeply into a mortise in the leg provides immense mechanical strength. Many traditional plans, like the Roubo, utilize draw-boring. This involves drilling an offset hole through the mortise and tenon and driving a wooden peg through, pulling the joint incredibly tight without the need for clamps during assembly.
For those using plywood or construction lumber where traditional mortises might be challenging, heavy-duty hardware is the next best option. Half-lap joints reinforced with carriage bolts or specialized workbench connector bolts allow for a bench that is rigid but can be disassembled if you ever need to move your shop to a new location.

Professional Bench Chisel Set
Clean out heavy mortises easily with high-carbon steel chisels that hold a sharp edge.
Check Price on Amazon9. Customizing Your Bench: Hardware, Vises, and Dogs
The wooden structure of the bench is only half the equation; the hardware makes it functional. Reviewing your woodworking workbench plans PDF, you will see specific recommendations for vise placement. Most right-handed woodworkers place a front vise on the front-left corner. This holds boards securely while crosscutting or detailing edges.
Bench dogs are simple pegs (wood, brass, or plastic) that drop into holes drilled vertically through the benchtop. By pairing a row of dog holes with a tail vise on the right end of the bench, you can pinch boards flat across the top. This is the safest way to hand-plane a board, as the force of the plane pushes the wood firmly against the stationary dog.
When drilling dog holes, standardize on a size. The most common sizes are 3/4-inch (common in traditional hand-tool benches) and 20mm (the standard for the Festool MFT system and modern track-saw accessories). Whichever you choose, stick to it, as mixing sizes will make buying accessories a headache.

Solid Brass Bench Dogs (3/4″)
Low-profile, non-marring bench dogs that won’t ruin your hand plane iron if struck.
Check Price on Amazon10. Base Construction and Leg Splay
The base is the foundation. If the base racks or sways, the bench is fundamentally compromised. Standard plans emphasize thick, heavy legs—usually 4×4 or laminated 2x4s to create massive posts. The legs must sit perfectly flush on the ground to prevent rocking.
Some historical designs, such as the English Nicholson bench or certain splayed-leg Moravian designs, angle the legs outward. This splay increases the footprint of the bench, offering unparalleled resistance to tipping when subjected to heavy side-loads. However, splayed angles complicate the joinery math significantly. If this is your first build, stick to vertical legs with thick, low-set stretchers.
Adding a shelf across the bottom stretchers is a practical modification. Not only does it provide a home for hand planes, bench hooks, and jigs, but the added weight of the tools lowers the center of gravity of the workbench, making it even more stable.
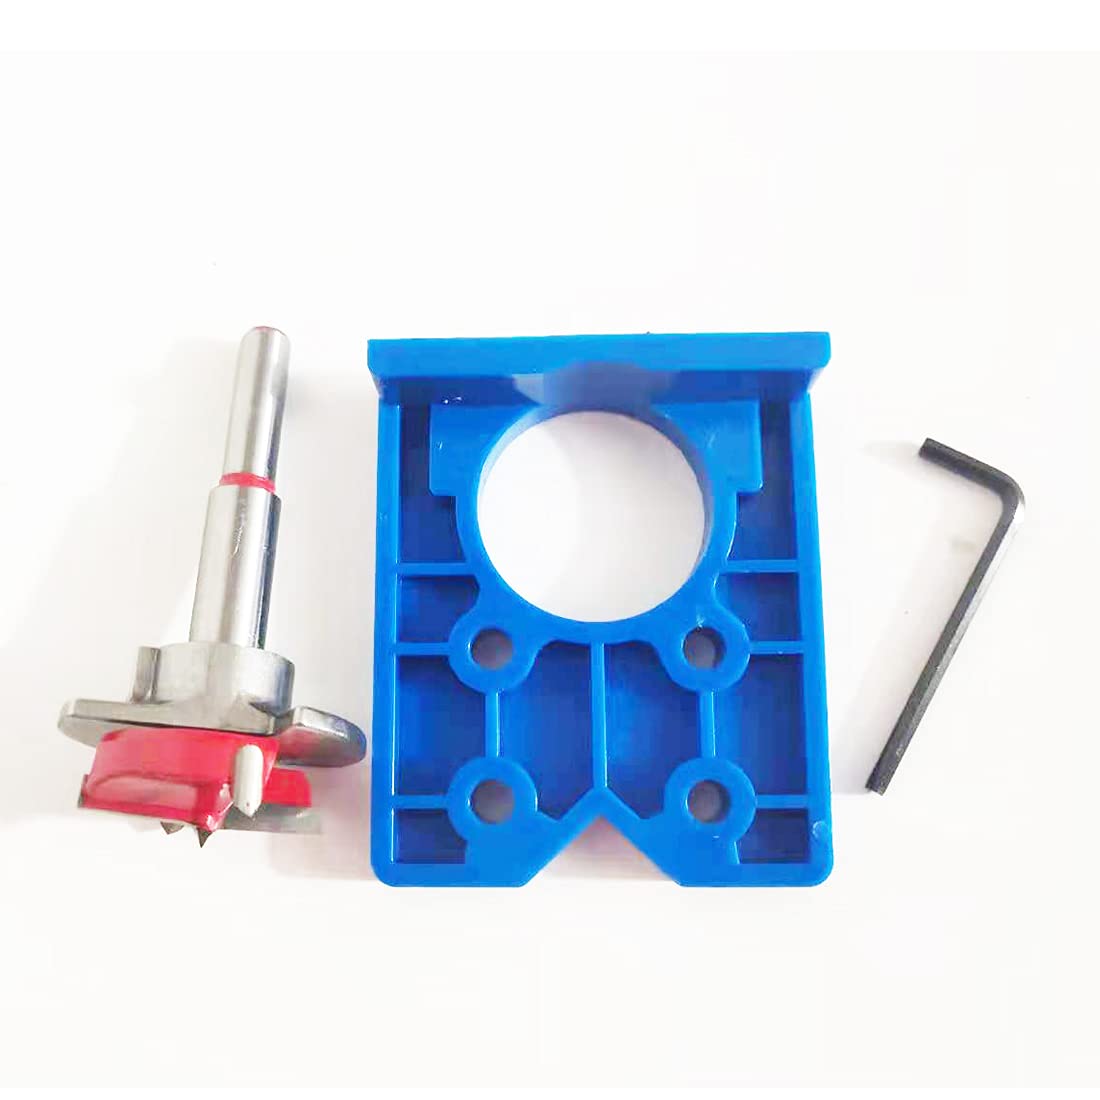
Titanium Coated Forstner Bit Set
Drill perfectly clean, flat-bottomed holes for your bench dogs and hardware recesses.
Check Price on Amazon11. Finishing and Protecting Your Workbench Surface
Once construction is complete, the final step is applying a finish. A workbench finish should never be film-building, like polyurethane or thick varnish. A glossy, slick surface is your enemy; workpieces will slide around while you are trying to route or sand them. Furthermore, thick finishes chip when hit with a hammer or chisel.
The ideal finish is a penetrating oil blend. A mixture of Boiled Linseed Oil (BLO), mineral spirits, and a touch of varnish or beeswax creates a finish that seals the wood against moisture and glue spills while maintaining the tactile “grip” of raw wood.
When glue inevitably drips onto the bench, a properly oiled top prevents the glue from penetrating the wood fibers. Once the glue dries to a rubbery state, a simple card scraper or chisel will pop the glue dot right off without damaging the bench. Re-apply the oil blend once a year to keep the top hydrated and protected.

Boiled Linseed Oil (BLO)
The traditional, perfect finish for a workbench. Penetrates deep and prevents glue adhesion.
Check Price on Amazon12. Common Mistakes to Avoid During Your Build
Even with a premium woodworking workbench plans PDF in hand, mistakes happen. Being aware of the most common pitfalls will save you immense frustration and wasted materials.
- Mistake 1: Not acclimatizing the wood. Buying lumber from a big-box store and immediately laminating it into a top is a recipe for disaster. Construction lumber is often wet. Bring it into your shop, sticker it (place thin strips between the boards to allow airflow), and let it sit for a few weeks to dry and warp. Then mill it flat.
- Mistake 2: Building it too high. The traditional rule of thumb is that the workbench top should be at the height of your pinky knuckle when you stand relaxed with your arms at your side. Too high, and you can’t use your body weight for hand planing. Too low, and you’ll suffer severe back pain.
- Mistake 3: Overcomplicating the first bench. Don’t try to build an heirloom, intricate, mahogany Roubo as your first bench. Build a sturdy, functional pine or plywood bench. Use it for a year to discover how you work. You will inevitably want to build a second, refined bench later.

Heavy Duty Front Vise Hardware
Don’t skimp on hardware. A cheap vise will rack and fail. Invest in quality cast iron.
Check Price on AmazonFrequently Asked Questions (FAQs)
1. How thick should a woodworking workbench top be?
For traditional hand tool woodworking involving holdfasts and heavy mallet use, the top should be between 3 and 4 inches thick. For power tool usage, 1.5 to 2 inches is generally sufficient.
2. What is the standard height for a workbench?
Most workbenches are between 33 and 36 inches high. The exact height should be tailored to the user; ideally, the benchtop should be at the same height as the crease of your wrist or pinky knuckle when your arms hang relaxed.
3. Do I need a vise on my workbench?
While not strictly mandatory, a front vise is highly recommended. It allows you to securely hold boards vertically for cutting joinery or horizontally for edge jointing. Alternatives include bar clamps and holdfasts.
4. Should I use screws or joinery for the base?
Traditional wood joinery (mortise and tenon) provides the best resistance to racking. If using screws, they must be heavy-duty lag bolts or specialized connector bolts, often supplemented with glued half-lap joints.
5. Is MDF good for a workbench top?
MDF is excellent as a top sacrificial layer because it is dead flat and cheap to replace. However, it is easily damaged by moisture and does not hold screws well in its edges, so it must be supported by a sturdy sub-frame.
6. Why are bench dogs usually 3/4 inch?
The 3/4-inch diameter has become the historical standard for bench dog holes and holdfasts. This standardization means a wide variety of aftermarket accessories, clamps, and stops will fit your bench without modification.
7. Can I build a workbench entirely out of 2x4s?
Yes. Construction-grade 2x4s (usually pine or fir) make an excellent, affordable workbench. The key is to rip off the rounded factory edges, joint them flat, and laminate them together to create a solid, heavy mass.
8. Should I put casters on my workbench?
If you have a small shop and need to move the bench, retractable casters are essential. Avoid standard locking casters, as they introduce a slight wobble even when locked. Retractable casters drop the bench onto its solid wood legs for use.
9. What finish is best for preventing glue from sticking?
A non-film finish like Boiled Linseed Oil, Danish Oil, or a blend of beeswax and mineral spirits works best. Glue will adhere to the surface but can be easily popped off with a scraper once dry without ruining the finish.
10. How much does it cost to build a workbench?
A simple laminated pine bench can be built for under $150. A premium hardwood bench (like maple or ash) with high-end cast iron vises can easily exceed $800 to $1,000 in materials and hardware.
Conclusion: Take Action and Build Your Dream Shop
Building your own workbench is arguably the most important rite of passage for any woodworker. It sets the tone for every project that follows. By utilizing a proven woodworking workbench plans PDF, you bypass the trial-and-error phase, ensuring your materials and time translate directly into a lifetime tool.
Whether you choose the massive stability of the standard bench or the clever efficiency of the compact model, prioritize stability, heavy joinery, and functional work-holding over aesthetic perfection. Your bench is meant to be used, battered, and loved.
Ready to start building?
Download the blueprints today and source your materials. Your perfect shop awaits.
Download Standard Plans PDFOr get the Compact Plans PDF here